Mastering the Art of Cleaning Your AC Unit
Maintaining a clean air conditioning unit is crucial for the system’s efficiency and longevity and the quality of air in your living space. Consider your AC unit as your home’s lungs; a clean system, like clear lungs, operates more efficiently. Regular cleaning prevents dirt and debris buildup, avoiding system clogs that force it to work harder, increasing energy consumption and potentially shortening its lifespan. A clean AC unit ensures the air you breathe is free from pollutants and allergens, promoting a healthier indoor environment.
Understanding Your AC Unit
Before you clean an air conditioner, it’s important to familiarize yourself with its components. The core parts include the condenser, evaporator coils, filters, and fans. The condenser cools the hot refrigerant and transforms it into a liquid, which then flows through the evaporator coils.
As the air from your home passes over these coils, it cools down and circulates back into the room. Filters trap dust and airborne particles, while fans aid in air circulation. Understanding how these components work together highlights the importance of cleanliness for maintaining optimal efficiency and cooling effectiveness.
Signs Your AC Unit Needs Cleaning
To determine the right time for cleaning, look for signs like reduced cooling efficiency, unusual noises, or an increase in energy bills. These issues indicate that your air conditioner is working harder than necessary, leading to faster wear and tear and diminished performance. Dust and mold buildup can significantly degrade indoor air quality, potentially causing allergies or respiratory problems. Early recognition of these signs can prevent discomfort and avoid expensive repairs.
Preparing for Cleaning
Before starting the cleaning of your AC unit, prioritize safety by ensuring the unit is completely powered off. This involves turning off the power at both the unit’s switch and the circuit breaker. If your HVAC system is controlled by a thermostat, power it down there as well to ensure no electricity is flowing to the unit, thus preventing any risk of electric shock.
Once safety measures are in place, assemble all necessary cleaning tools and materials. Your toolkit should include a screwdriver for opening the unit, a soft brush or cloth for gentle cleaning, a fin comb to straighten any bent fins, coil cleaner for tough grime on the coils, and a vacuum with a brush attachment for removing loose debris.
Next, access your AC unit. For central air systems, this usually means removing the access panel on the air conditioner condenser outside. If you have a window ac unit, you may need to remove it from the window or open up the casing. Each type of AC unit has different access points, so refer to your owner’s manual for specifics.
Cleaning the Exterior Components
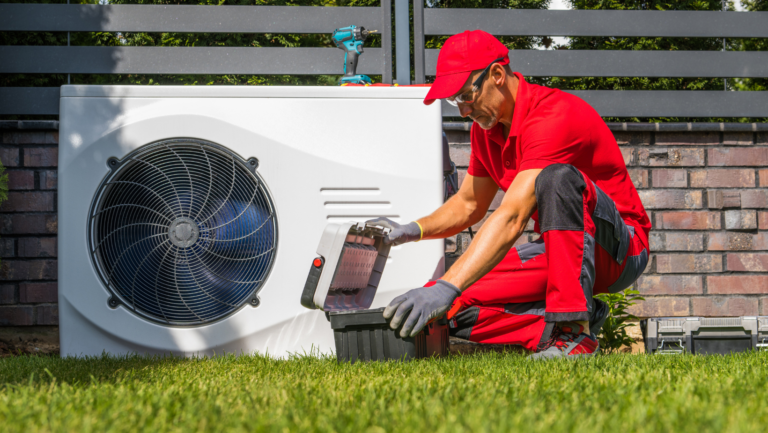
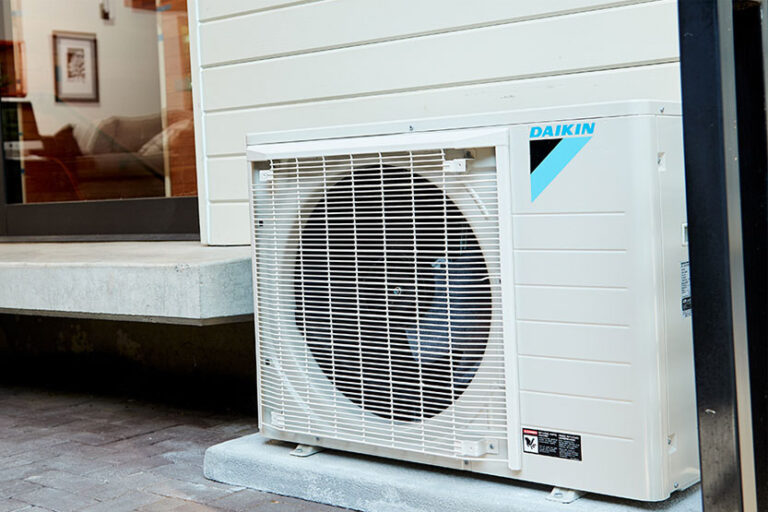
Now, let’s get to the actual cleaning. Begin with the exterior components of your AC unit, particularly the condenser coils and fins located in the outdoor unit. Gently remove any debris, leaves, or dirt that’s accumulated around the condenser coils with a soft brush or vacuum. Be careful not to bend the delicate fins. For stubborn dirt, use a coil cleaner following the manufacturer’s instructions. For a thorough cleaning of the exterior casing and to remove dirt and debris from hard-to-reach areas, a pressure washer can be used.
However, it’s important to use the pressure washer on a low setting to avoid bending the fins or damaging the coils. Keep the nozzle at a safe distance, and avoid directly spraying water into the interior parts of the unit.
After cleaning the coils, move on to the exterior housing and fins. Use a fin comb to straighten any bent fins, as this can improve airflow and increase your unit’s efficiency. Washing the exterior with water and a mild detergent can also help remove dirt and ensure your unit is looking its best.
Cleaning the Interior Components
Gaining access to the interior of your AC unit is the first step in the deep cleaning process. For central units, this typically involves opening the indoor unit’s casing, often located on or near your furnace. With window air conditioners, you’ll likely need to remove the front panel. Always refer to your user manual to avoid damaging your unit.
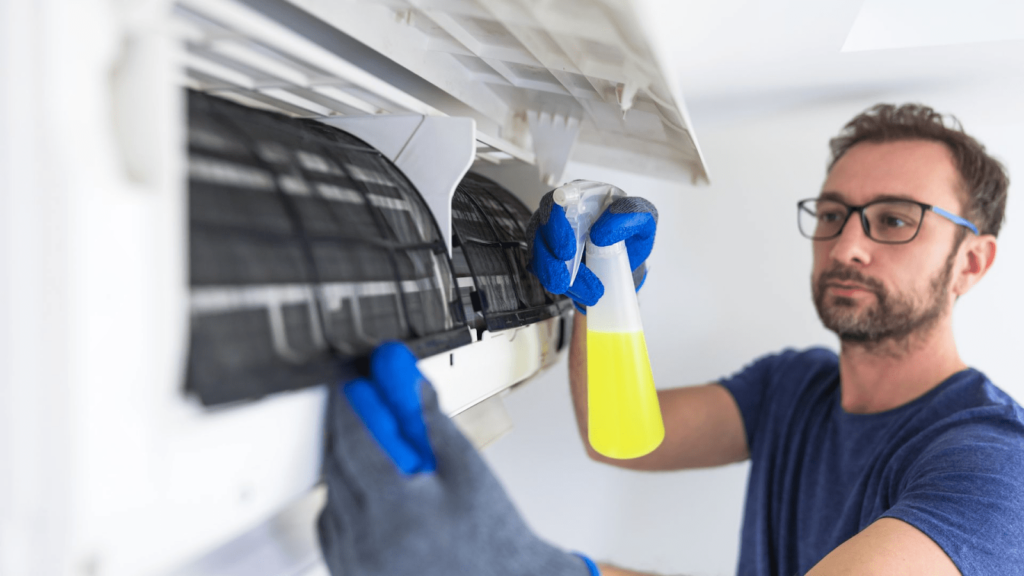
Once inside, your primary targets are the evaporator coils and drain lines. The evaporator coils absorb heat from your air, and when they’re dirty, their efficiency plummets. Gently clean the coils with a soft brush or special coil cleaner. Next, ensure the drain lines are clear. These lines can become clogged with algae and mold, leading to leaks and water damage. A simple way to clean them is by flushing them with a mixture of bleach and water or using a wet/dry vacuum.
Replacing or Cleaning Filters
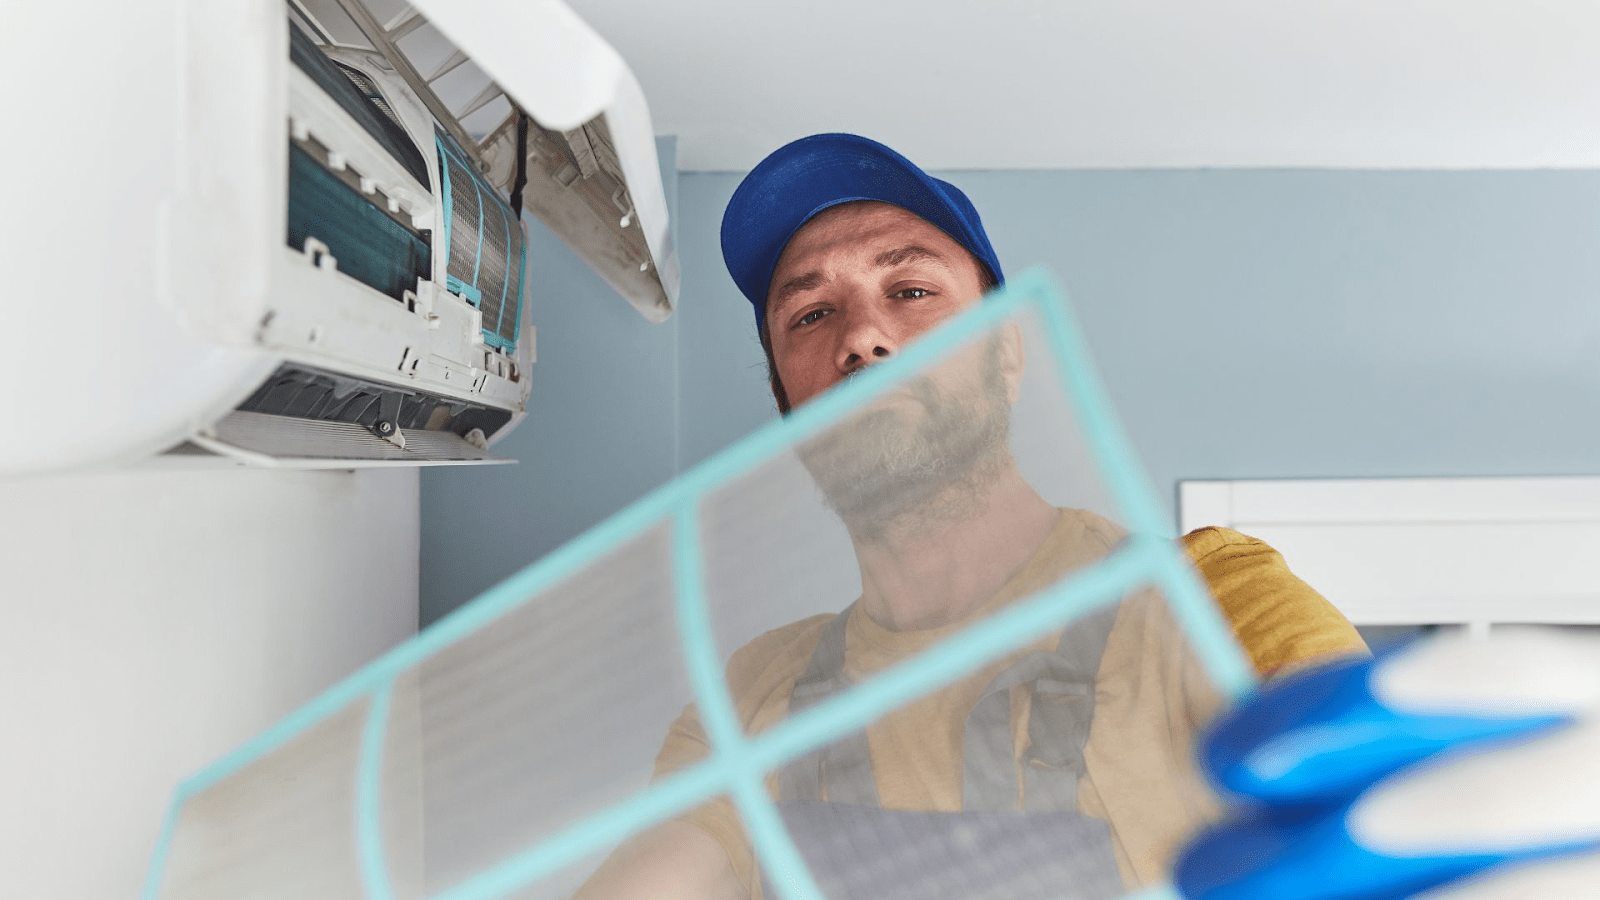
Air Filters play a crucial role in AC efficiency and indoor air quality. A clogged air filter restricts airflow, forcing the AC to work harder, which can increase energy bills and reduce system longevity. Check your air conditioner filters monthly and clean or replace them as necessary. A simple light test can help determine if a filter is too dirty and needs attention. Clean filters maintain airflow and system efficiency, directly impacting air quality and energy consumption.
Cleaning the Air Ducts
Though not as frequently required as filter maintenance, keeping your air ducts clean is essential for optimal air quality and efficiency. Over time, ducts can accumulate an array of debris, including dust, pollen, and even mold, which can then circulate through your home every time the AC runs.
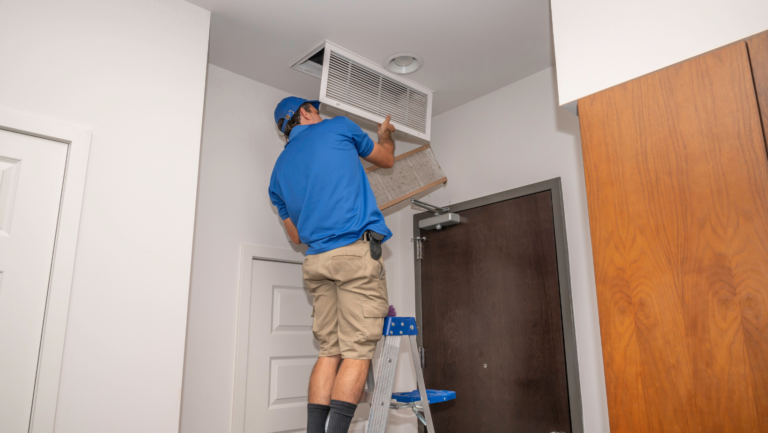
To tackle duct cleaning, start with a thorough inspection. Look for any visible dust buildup or signs of mold. While homeowners can do some basic cleaning with a vacuum cleaner equipped with a hose attachment, professional cleaning is recommended for extensive buildup or if there’s mold present.
This is especially true for ducts made of or lined with insulation material, which can be damaged by improper cleaning techniques. Clean air ducts contribute to better indoor air quality and can also enhance the overall efficiency of your AC unit.
Inspecting and Cleaning Fan Blades
The cleanliness of fan blades is critical for efficient airflow. Over time, dust and debris can accumulate, leading to decreased air movement and increased strain on your AC’s motor. To properly inspect and clean the fan blades, ensure the power to the unit is turned off for safety. With a soft brush or cloth, gently remove any dust or dirt from the blades. If the dirt is persistent, a mild soap solution can be used to wipe them down. This process helps in maintaining the fan’s performance, contributing to the overall efficiency of your AC unit.
Cleaning and Calibrating Thermostat
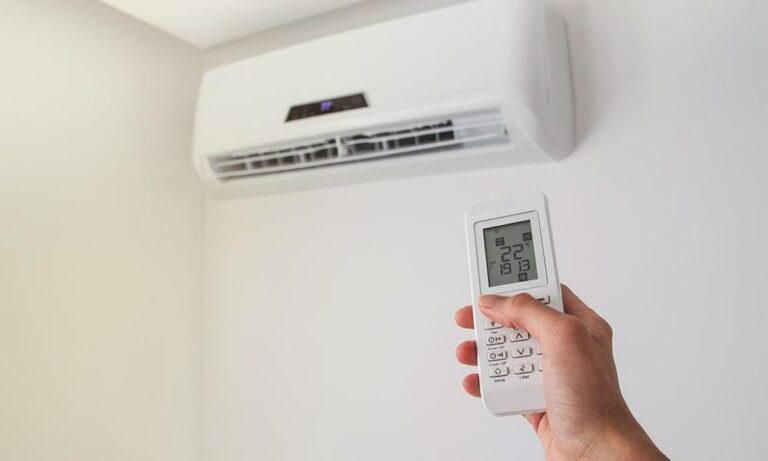
A thermostat controls the AC’s operation, and its accuracy is vital for maintaining the desired indoor temperature. Dust accumulation inside the thermostat can affect its performance. To clean, carefully remove the cover and use a soft brush or compressed air to remove any dust.
Calibration is essential for accurate temperature control. Most thermostats have calibration settings, and referring to the manufacturer’s instructions can guide you through the calibration process. This ensures your AC operates as efficiently as possible, maintaining your comfort while avoiding unnecessary energy use.
Checking Refrigerant Levels
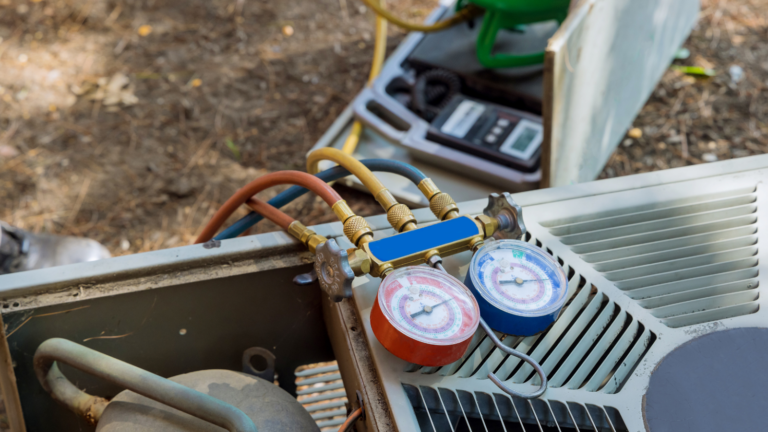
Correct refrigerant levels are necessary for your AC to cool effectively. Too little refrigerant can lead to a drop in cooling efficiency, while too much can cause the system to work harder than necessary. Checking refrigerant levels is a specialized task that involves gauging the pressure in the AC system and should be conducted by a professional. They can identify if the refrigerant level is optimal or if there are leaks that need addressing. Proper refrigerant levels ensure your AC unit cools efficiently and prolongs its lifespan.
Inspecting Electrical Components
Inspecting electrical connections to your air conditioner components involves looking for any signs of wear, corrosion, or loose connections that could affect performance or pose safety risks. Again, always turn off the power to the unit before beginning any inspection. Use a flashlight to examine wires and connectors for any visible damage. If you’re not familiar with electrical systems, it’s best to have a professional perform this inspection. Regular checks can prevent electrical failures and ensure your unit operates safely.
Preventative Maintenance Tips
Preventative maintenance is key to avoiding future problems and ensuring your AC unit operates at peak efficiency. Implementing simple strategies, like regular cleaning of filters and coils, can prevent dirt and debris buildup that affects performance.
Schedule a professional inspection at least once a year, ideally before the cooling season begins, to check refrigerant levels, electrical components, and overall system health. Adhering to a proper maintenance schedule can extend the life of your AC, improve air quality, and reduce unexpected repair costs.
Troubleshooting Common Problems
When faced with common AC issues, like reduced cooling efficiency or strange noises during operation, it’s important to know the steps to take if a standard cleaning doesn’t solve the problem. Check for more complex issues, such as blocked air ducts, incorrect refrigerant levels, or electrical component failures. If simple fixes like cleaning filters or resetting the unit don’t work, it may indicate a need for professional repair or service. Understanding these troubleshooting basics can help you quickly address and resolve common AC problems before they escalate.
Reassembling and Restarting the AC Unit
After thorough cleaning, the next step is to safely reassemble your AC unit. Start by carefully replacing any components you removed, such as filters, panels, or covers, ensuring they fit securely in place. Double-check that all tools and cleaning materials are removed from the unit.
To restart, first ensure the thermostat is off, then restore power at the circuit breaker and the switch near the unit. Wait for a couple of minutes to ensure everything has settled internally, then turn the thermostat back on. Start with a moderate temperature setting to gradually bring the unit back to its optimal operating condition. This careful approach helps avoid any sudden stresses on the AC system, ensuring a smooth return to efficient cooling.
Summary of Cleaning Process
Regular maintenance of your AC unit is crucial for its efficiency, longevity, and the quality of air in your home. Starting with shutting down the unit for safety, the comprehensive cleaning of exterior and interior components, and the essential step of cleaning or replacing filters, each contributes significantly to the unit’s performance. Concluding with the careful reassembly and restarting of the unit ensures a smooth transition back to optimal operation.
Emphasizing the importance of having your unit checked by a professional cannot be overstated. While many maintenance tasks can be performed independently, a professional’s expertise is invaluable for thorough inspections, addressing complex issues, and ensuring your unit operates at its best. This not only secures your comfort and safety but also protects your investment in your home’s cooling system.
Elevate Your Air Quality: Explore Beam Airflow’s AC Cleaning Solutions
